Badges – Special Game Awards
Badges – Special Game Awards
A badge is a special award you can gift users when they meet a goal within your experience. For example, you may award a player a badge when they:
- Reach a collectible goal (100 coins, 150 stars, etc.).
- Finish a difficult objective, such as jumping across a series of challenging platforms.
- Play your experience for a certain amount of time (15 minutes, 2 days in a row, etc.).
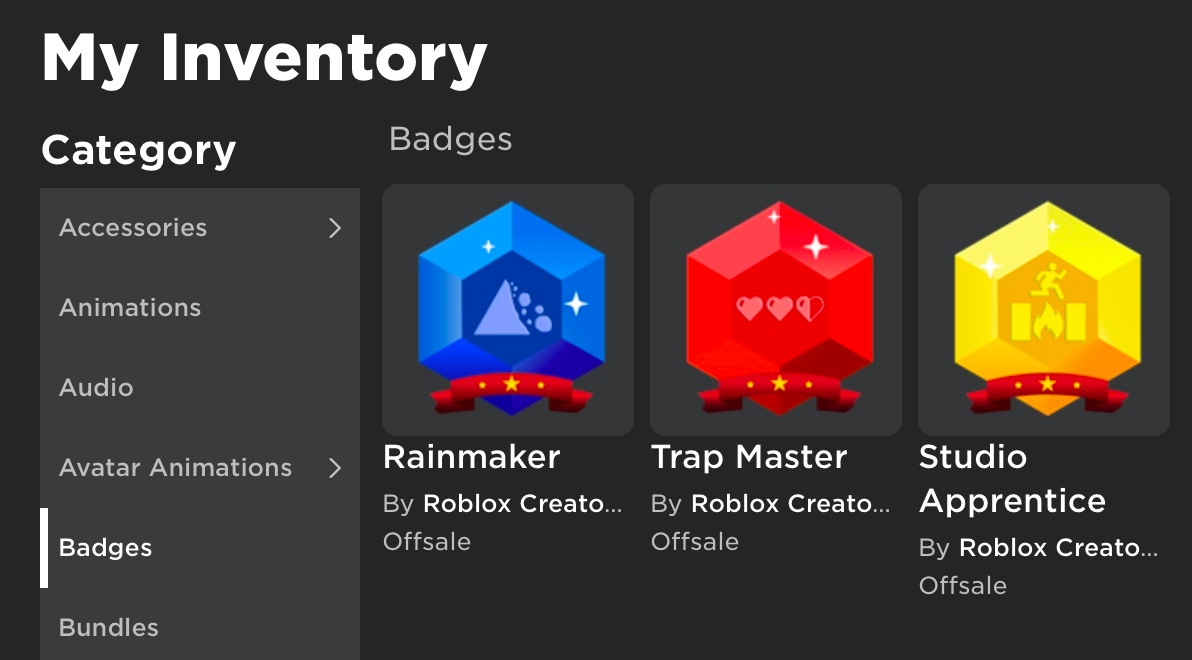
As soon as a user receives a badge, it displays within the Badges category of their Inventory.
Creating Badges
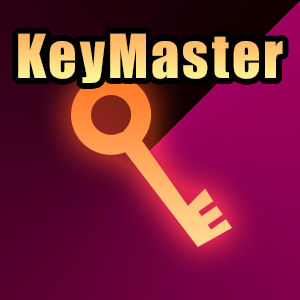
You should have an image ready for the badge’s icon in either .jpg, .gif, .png, .tga, or .bmp format. When you’re creating the image, use a template of 512×512 pixels.
As the upload process will trim and crop the final badge into a circular image, don’t include important details outside of the circular boundaries.


Note that you can create up to 5 badges for free in a 24-hour period (GMT) for each experience you own. If you want to create more badges within the 24-hour period, it costs 100 Robux per additional badge.
To create a badge:
- In the Home tab of the menu bar, navigate to the Settings section and click Game Settings. The Game Settingsmenu displays.
- In the left-hand navigation, select Monetization.
- In the Badges section, click the
- Click the Choose File button. A file browser displays.
- Select the image you want to display as the icon, then click the Open button. The file browser closes.
- Fill in the following fields:
- Badge Name: A title for your badge.
- Description: A description of what the user can do to earn the badge.
- Click the Preview button. A preview of your Game Pass displays.
- If you are satisfied with the preview, click the Purchase for 0 Robux button (or Purchase for 100 Robux button if you have already created 5 badges in a 24-hour period), otherwise click the Cancel button to make further edits.
Once the purchase is complete, the badge appears in the Badges section of the experience’s main page.
Locating Badge IDs
A Badge ID is the unique identifier of a badge. You will need this ID when you are scripting badges.
To locate a Badge ID:
- Navigate to Roblox.com.
- In the horizontal navigation, select the Create tab. The Experiences space displays.
- In the left-hand navigation, select Badges.
- Select the name of a badge. The badge’s main page displays with its
BadgeIDin the URL.

Scripting Badges
You must use scripting to give and keep track of badges in your experiences.
Common badge scripting use cases include:
- Awarding badges.
- Checking if a user has previously earned a badge in your experience.
- Getting badge information.
Awarding Badges
You can award users badges throughout your experience by calling the BadgeService/AwardBadge function in a server-side Script.BadgeService/GetBadgeInfoAsyncreturns properties of the badge, including IsEnabled, which confirms whether or not the badge can be awarded to a user. You should call this to check before awarding a badge.
The following script contains an example of a safe function for awarding badges to users.
Checking Earned Badges
The following script checks when any user enters the experience, then verifies if that user owns the badge with the matching ID set in the variable badgeID.
This is useful for creating a articles/Collision Filtering Team Doors|restricted area or articles/Teleporting Between Places|teleporter that only works when a user owns a special badge.
Getting Badge Info
To get information about a badge, such as its description or icon asset ID, use the BadgeService/GetBadgeInfoAsync function with a badge ID. For example: