Character Pathfinding
Character Pathfinding
Pathfinding is the process of moving a character along a logical path to reach a destination, avoiding obstacles and (optionally) hazardous materials or defined regions.
Enabling the Navigation Mesh »
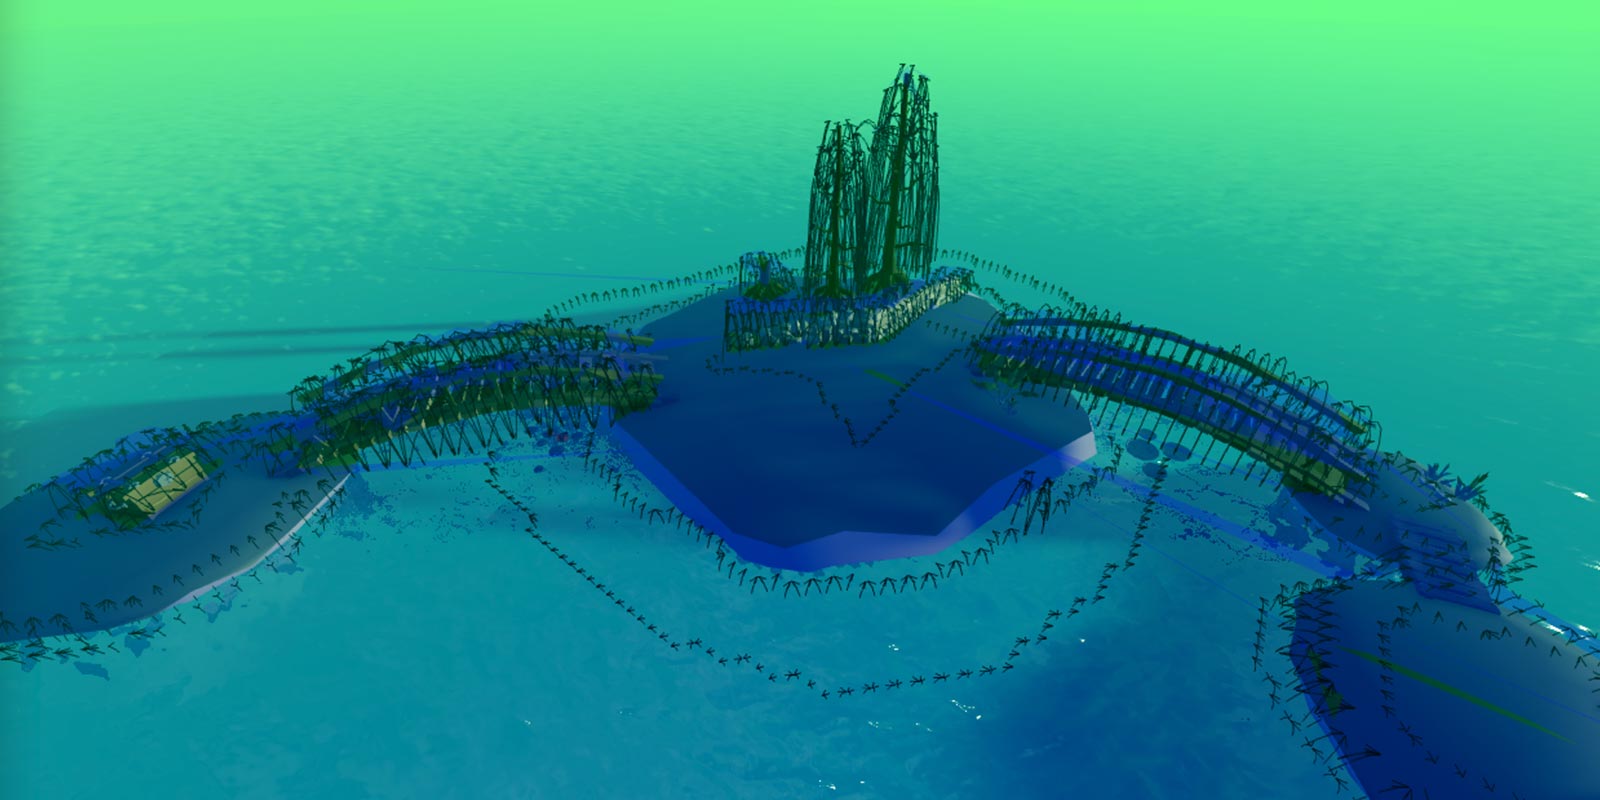
To assist with pathfinding layout and debugging, Studio can render a navigation mesh. Colored areas show where a character can walk or swim, while non-colored areas are considered blocked. The small arrows indicate areas where a character must jump to reach.
To enable or disable the mesh:
- Open Studio’s settings (File → Studio Settings…).
- In the Studio tab, enable the Show Navigation Mesh setting.
Creating Paths
Pathfinding is initiated through PathfindingService and its PathfindingService/CreatePath|CreatePath function.
PathfindingService/CreatePath|CreatePath accepts an optional table of parameters which fine-tune how the character (agent) moves along the path.
| Key | Description | Type | Default |
|---|---|---|---|
| AgentRadius | Agent radius, in studs. Useful for determining the minimum separation from obstacles. | integer | 2 |
| AgentHeight | Agent height, in studs. Empty space smaller than this value, like the space under stairs, will be marked as non-traversable. | integer | 5 |
| AgentCanJump | Whether off-mesh links for jumping are allowed. | boolean | true |
| WaypointSpacing | Spacing between intermediate waypoints in path. If set to math.huge, there will be no intermediate waypoints, only “inflection points.” |
number | 4 |
| Costs | Table of materials or defined PathfindingModifier|PathfindingModifiers and their "cost" for traversal. Useful for making the agent prefer certain materials/regions over others. See Pathfinding Modifiers for details. |
table | nil |
Moving Along Paths
Character Pathfinding Script
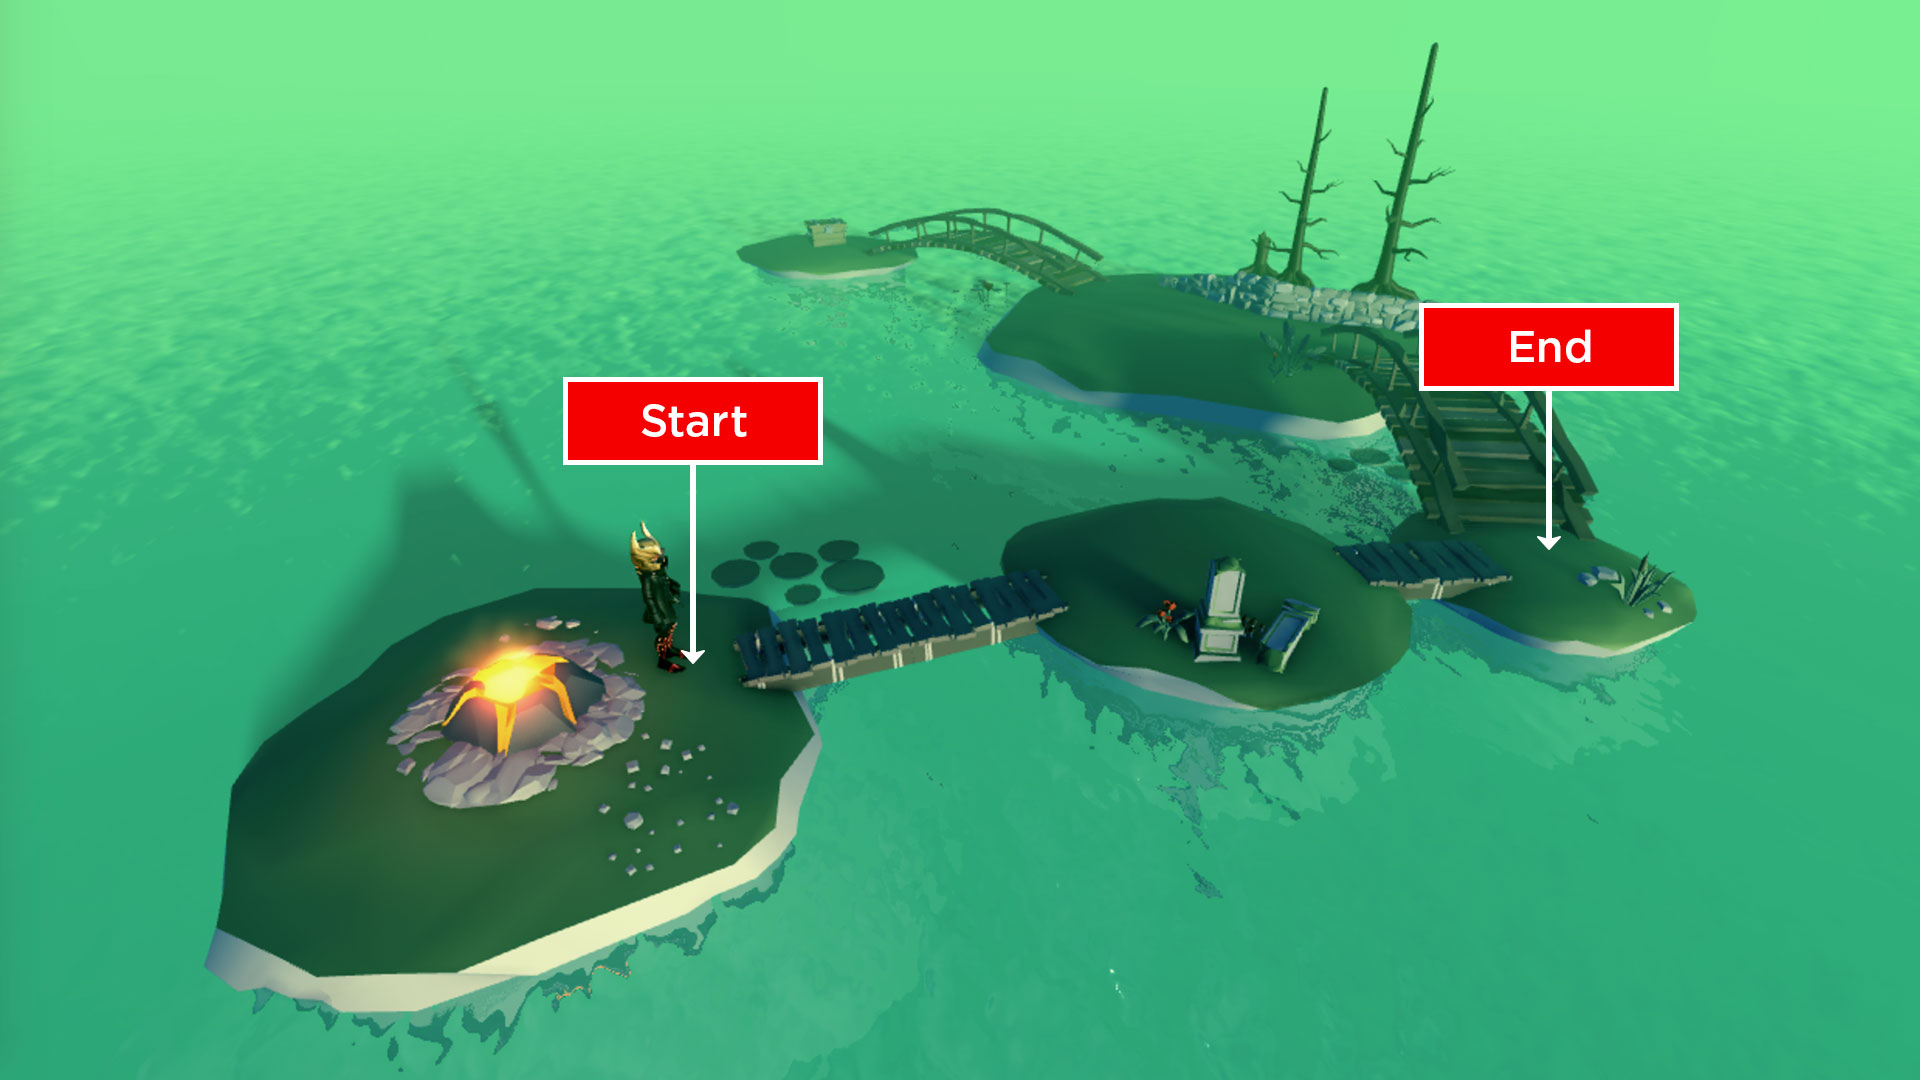
This section uses the following pathfinding script for the player’s character. To test while reading:
- Copy the following code into a
LocalScriptwithin StarterCharacterScripts. - On line 11, change the
DataType/Vector3destination to a point that the starting character will be able to reach through pathfinding.
Computing the Path
After you’ve created a valid path with PathfindingService/CreatePath, you need to compute the path by calling Path/ComputeAsync with a DataType/Vector3 for both the starting point and destination.
Getting Waypoints
Once the Path is computed, it will contain a series of waypoints that trace the path from start to end. These points can be gathered with the Path/GetWaypoints|GetWaypoints function.
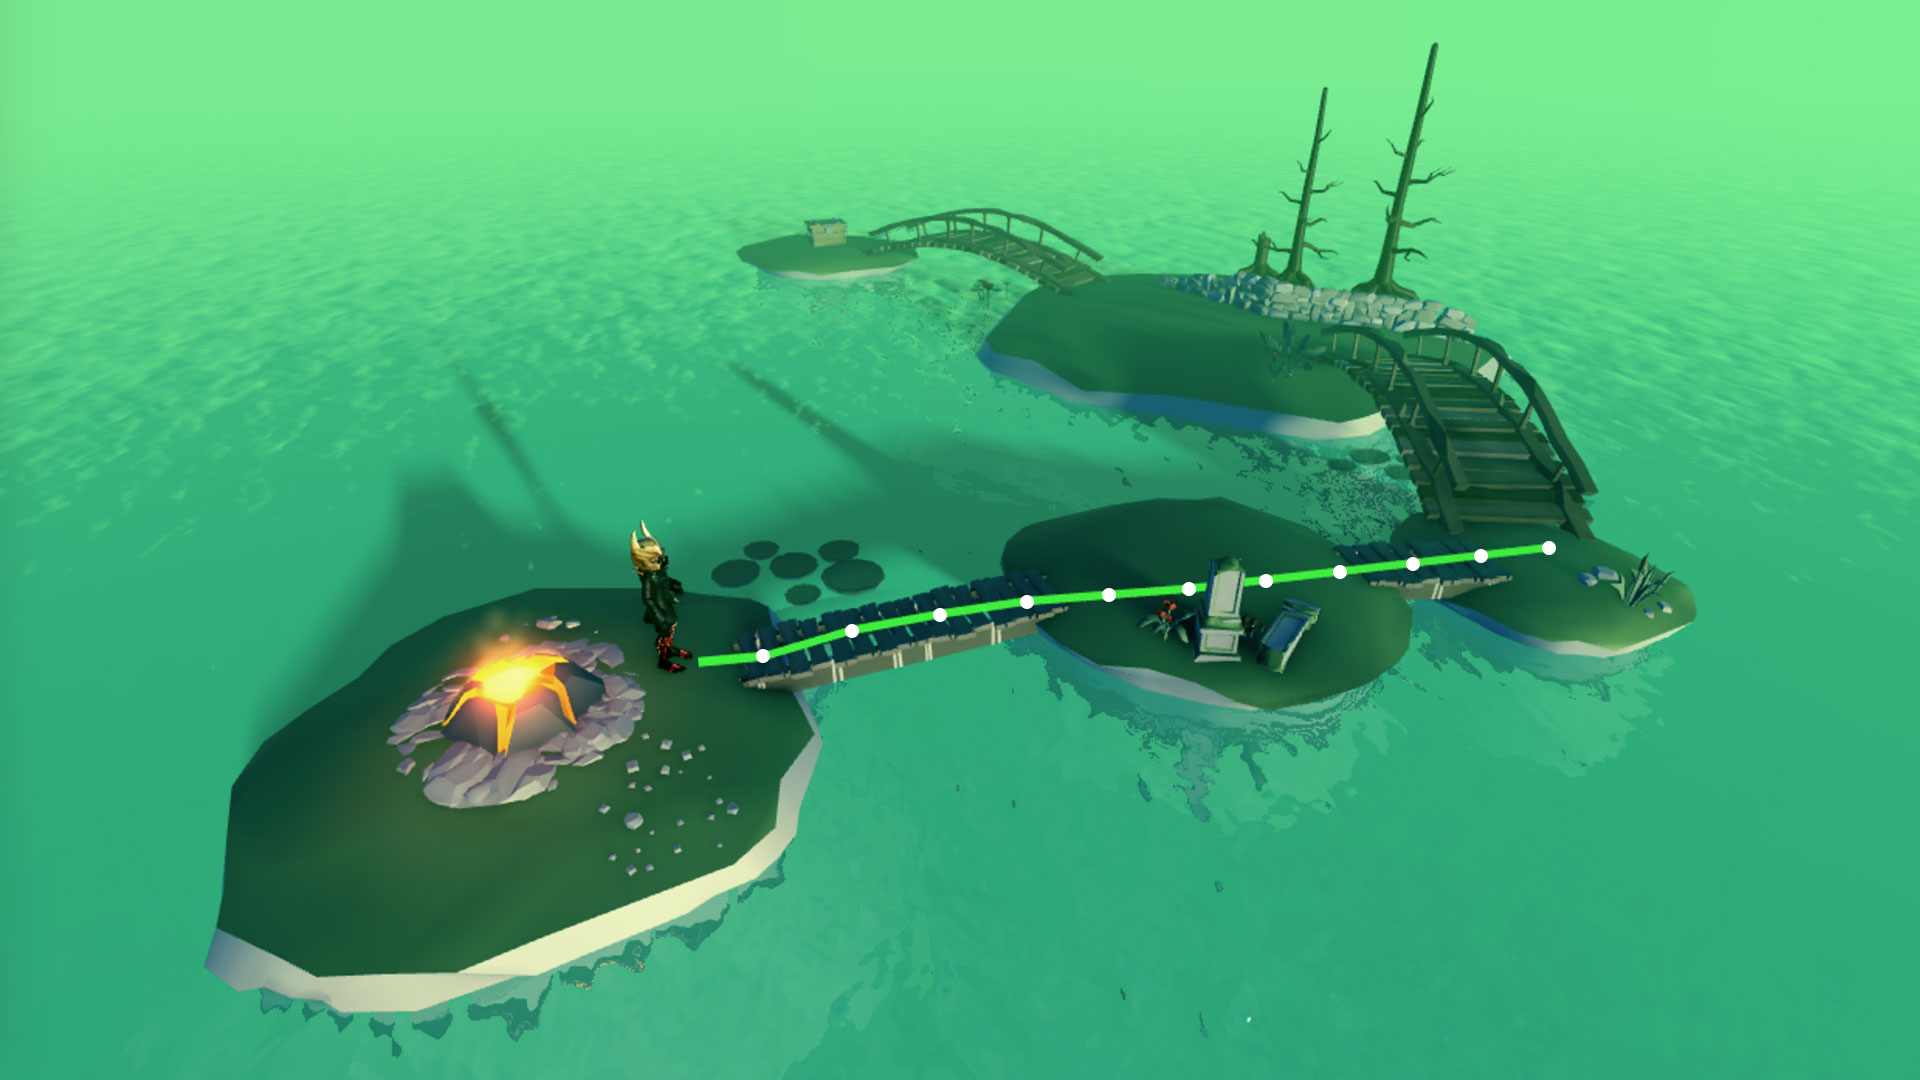
Path Movement
Each waypoint consists of both a Position (DataType/Vector3) and Action (Enum/PathWaypointAction). To move a character containing a Humanoid, like a typical Roblox character, the easiest way is to call Humanoid/MoveTo from waypoint to waypoint, using the Humanoid/MoveToFinished|MoveToFinished event to detect when the character reaches each waypoint.
Handling Blocked Paths
Many Roblox worlds are dynamic — parts might move or fall, floors may collapse, etc. This can block a computed path and prevent the character from reaching its destination. To handle this, you can connect the Path/Blocked|Blocked event to the Path object and re-compute the path around whatever blocked it.
Pathfinding Modifiers
By default, Path/ComputeAsync returns the shortest path between the starting point and destination (with the exception that it attempts to avoid jumps). This can look unnatural in some situations — for instance, a path can go through water rather than over a nearby bridge, just because the path through water is geometrically shorter.
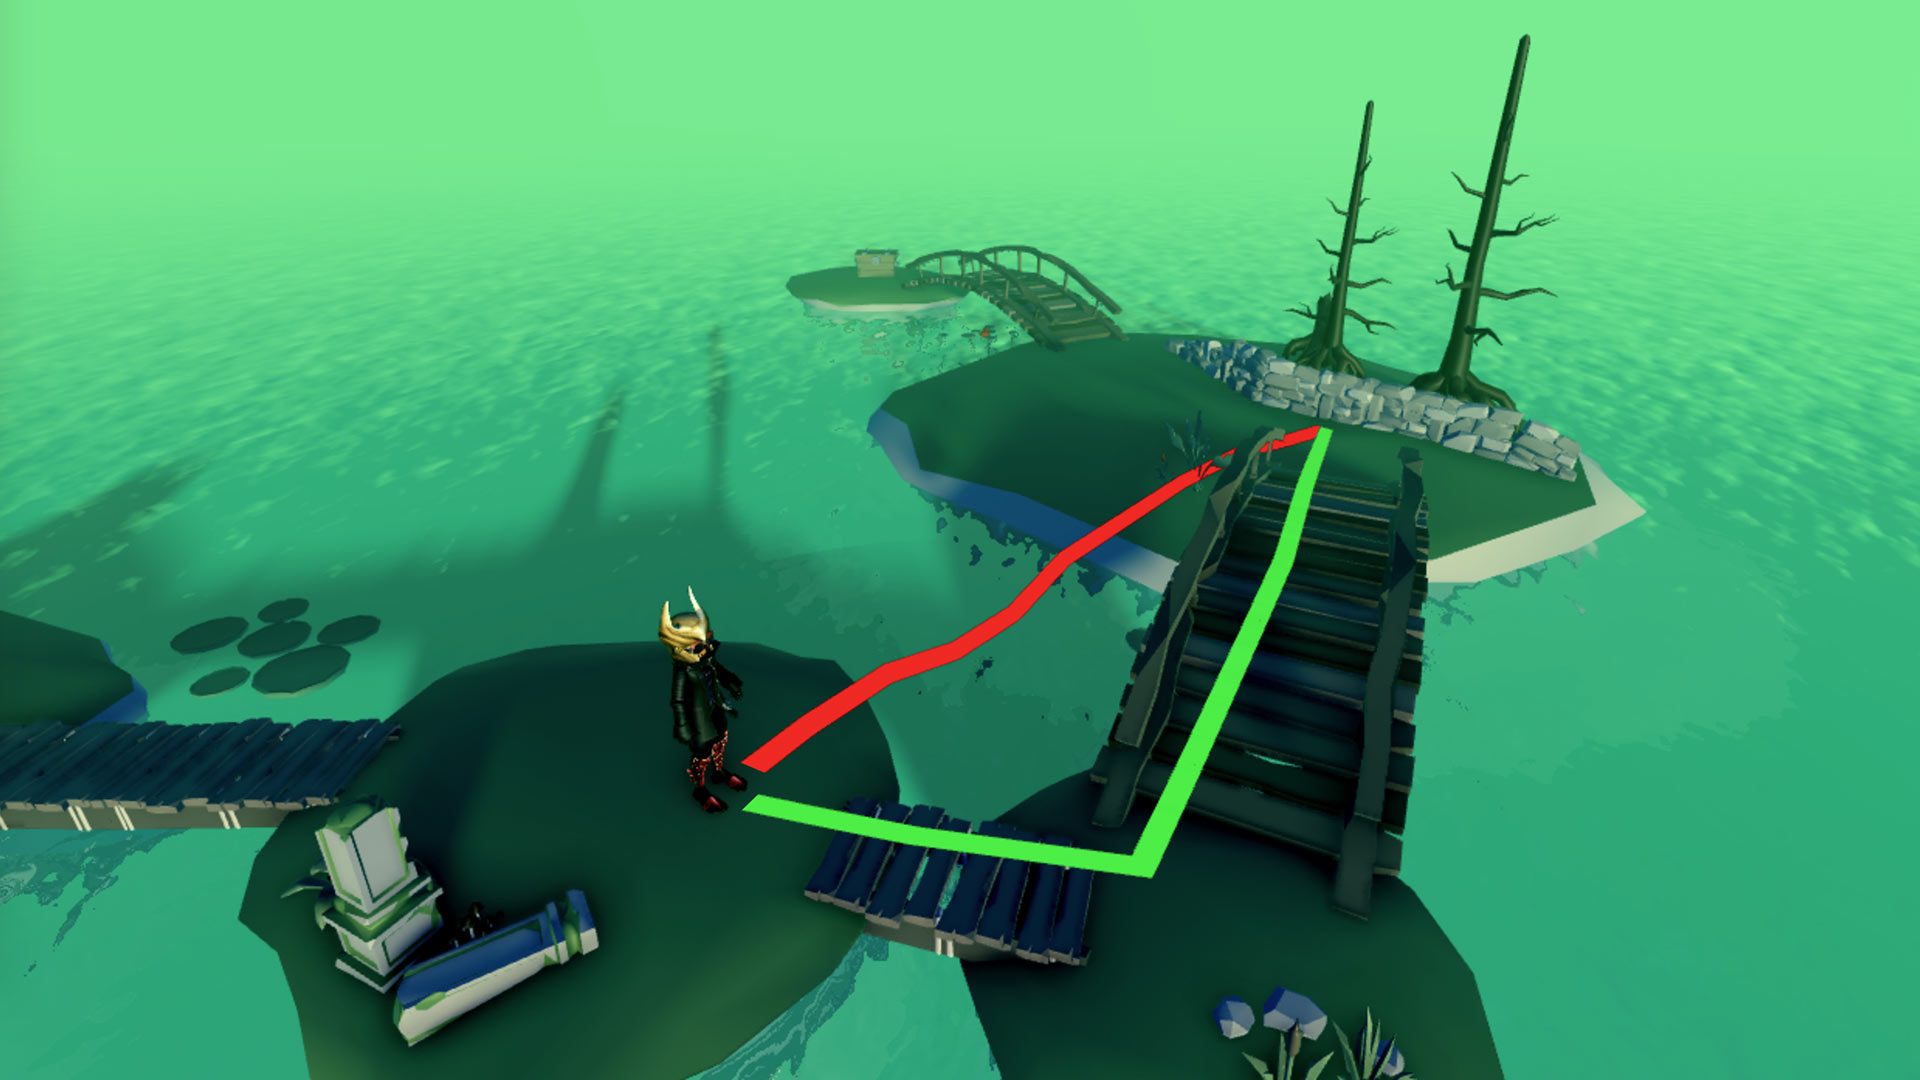
To optimize pathfinding even further, you can include pathfinding modifiers in the PathfindingService/CreatePath|CreatePath parameters and compute smarter paths across various materials or around defined regions.
Materials
When working with Terrain and BasePart materials, costs can be directly defined by the material name.
- Locate valid
enum/Material|Materialnames such as Water or Neon. - Add matching keys to the
Coststable along with numeric values. All materials have a default cost of 1 and any material can be defined as non-traversable by setting its value tomath.huge.
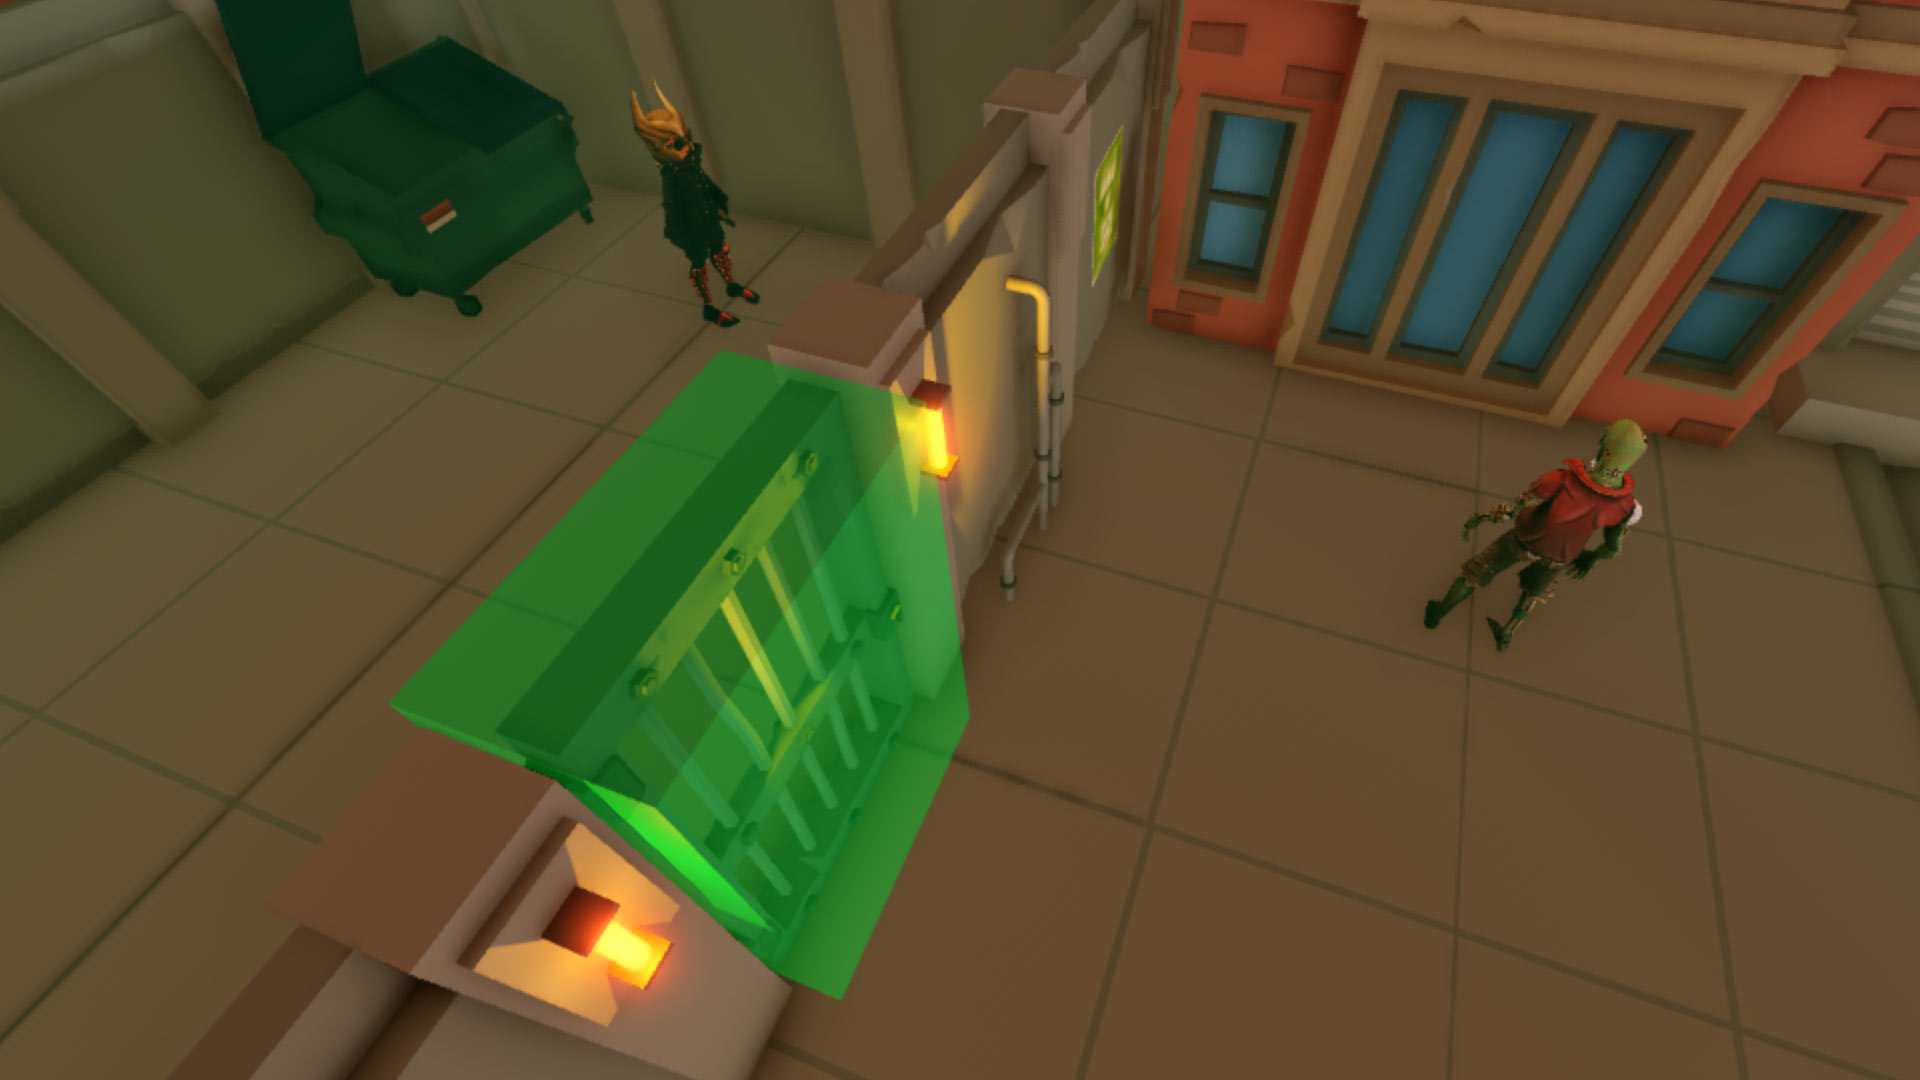
Defined Regions
In some cases, material preference is not enough. For example, you might want characters to avoid a defined region, regardless of the materials underfoot. This can be achieved by adding a PathfindingModifier to a part.
- Create an anchored part around the dangerous region. Make sure its
BasePart/CanCollide|CanCollideproperty is set to false.

- Insert a
PathfindingModifierinstance onto the part.

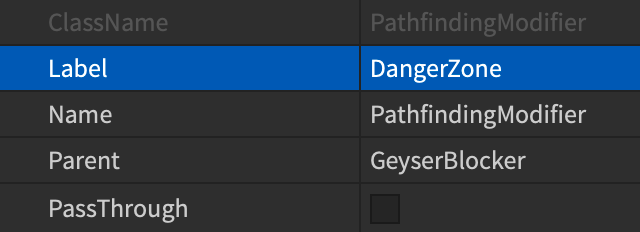
- Select the new instance, locate its
PathfindingModifier/Label|Labelproperty, and assign a meaningful name like DangerZone.
- Add a matching key to the
Coststable along with a numeric value. A modifier can be defined as non-traversable by setting its value tomath.huge.
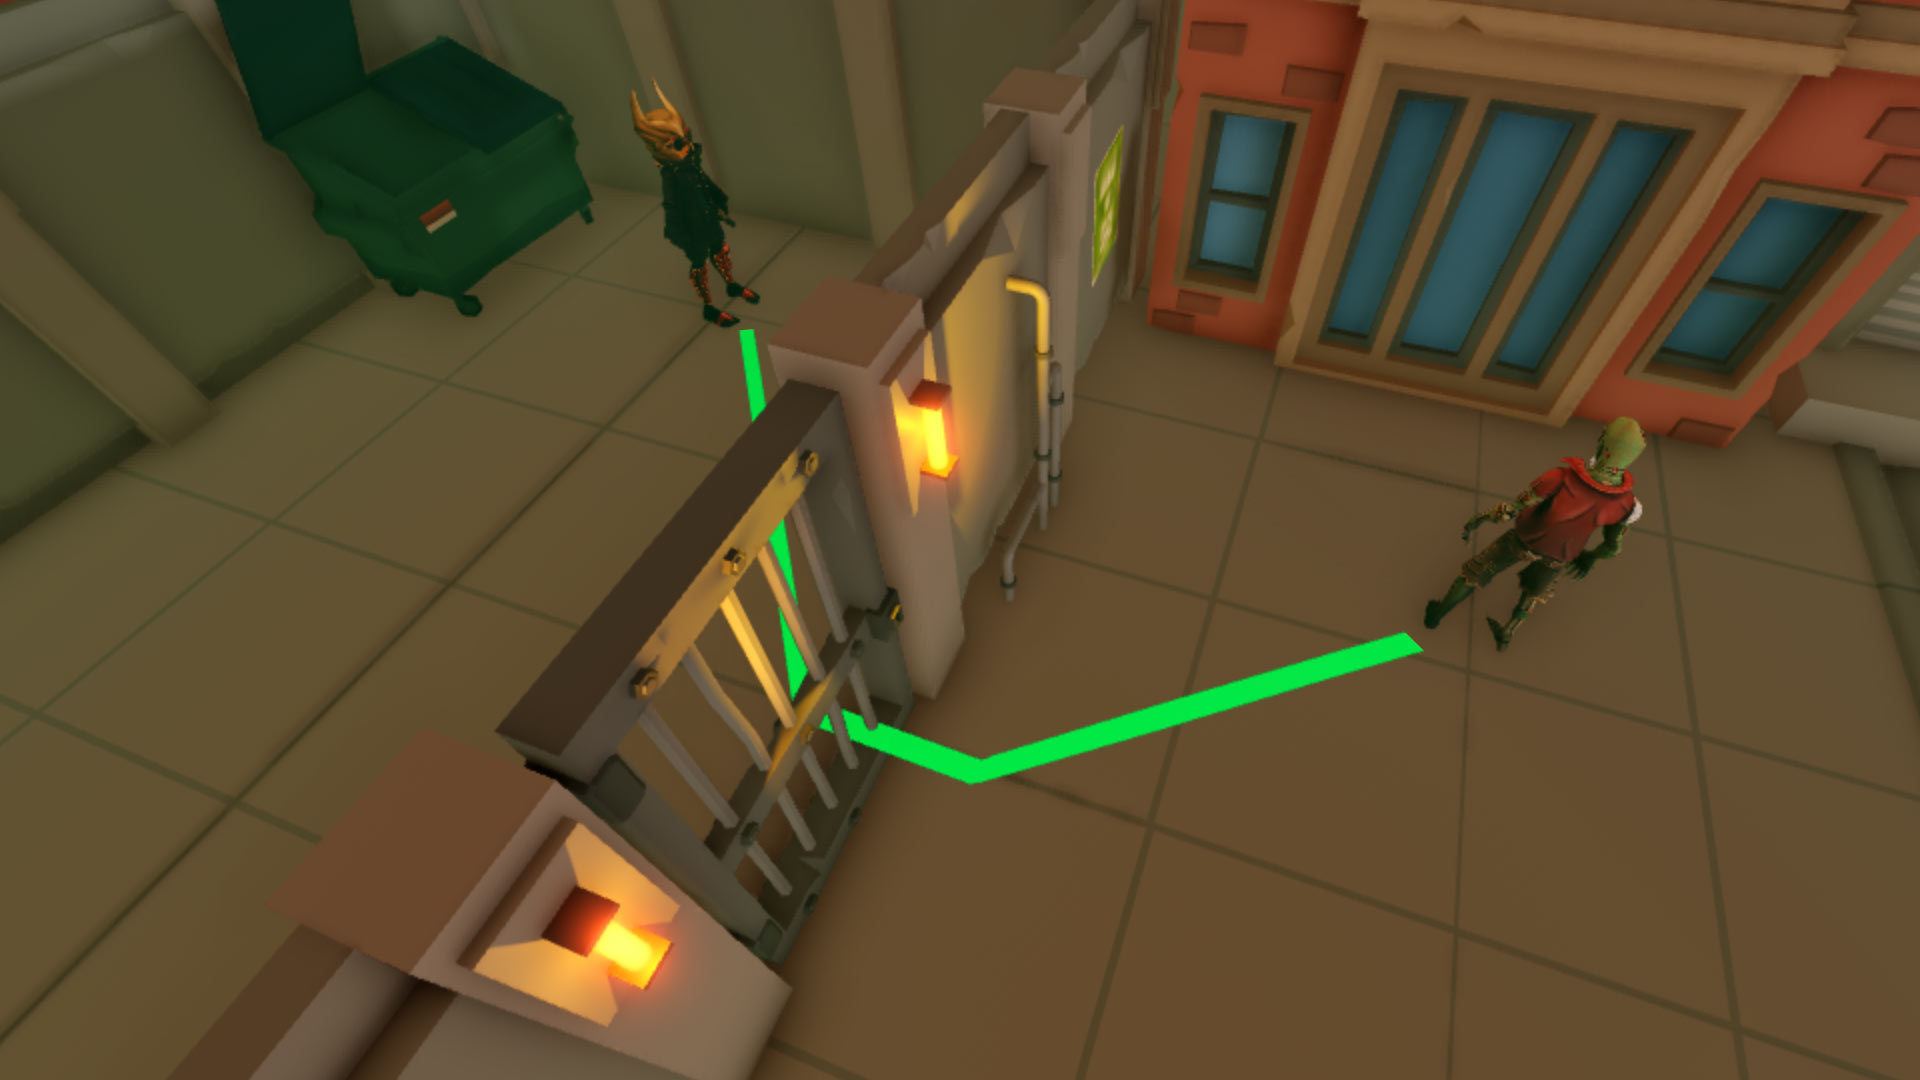
Ignoring Obstacles
In some cases, it’s useful to pathfind past/through solid obstacles, as if the obstacles didn’t exist. For example, if a zombie NPC “hears” a character and tries to find it, but the character is hiding behind a door, Path/ComputeAsync will fail.

To compute a path that ignores the door, you can use a PathfindingModifier with PathfindingModifier/PassThrough|PassThrough enabled.
- Create an anchored part around the door. Make sure its
BasePart/CanCollide|CanCollideproperty is set to false.
- Insert a
PathfindingModifierinstance onto the part.

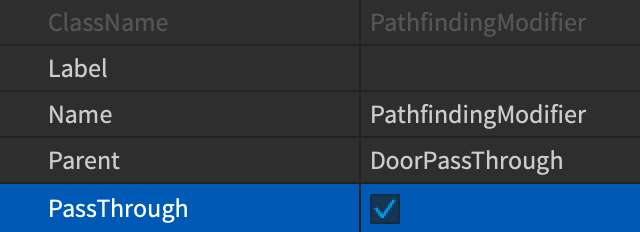
- Select the new instance and enable its
PathfindingModifier/PassThrough|PassThroughproperty.
Pathfinding Links
Sometimes it’s necessary to find a path across a space that cannot be normally traversed, such as up a ladder or across a chasm, and perform a custom action to reach the next waypoint. This can be achieved through the PathfindingLink object.
Using the island example from above, you can make the agent use a boat instead of walking across all of the bridges.

- Create two
Attachment|Attachments, one on the boat’s seat and one near the boat’s landing point.
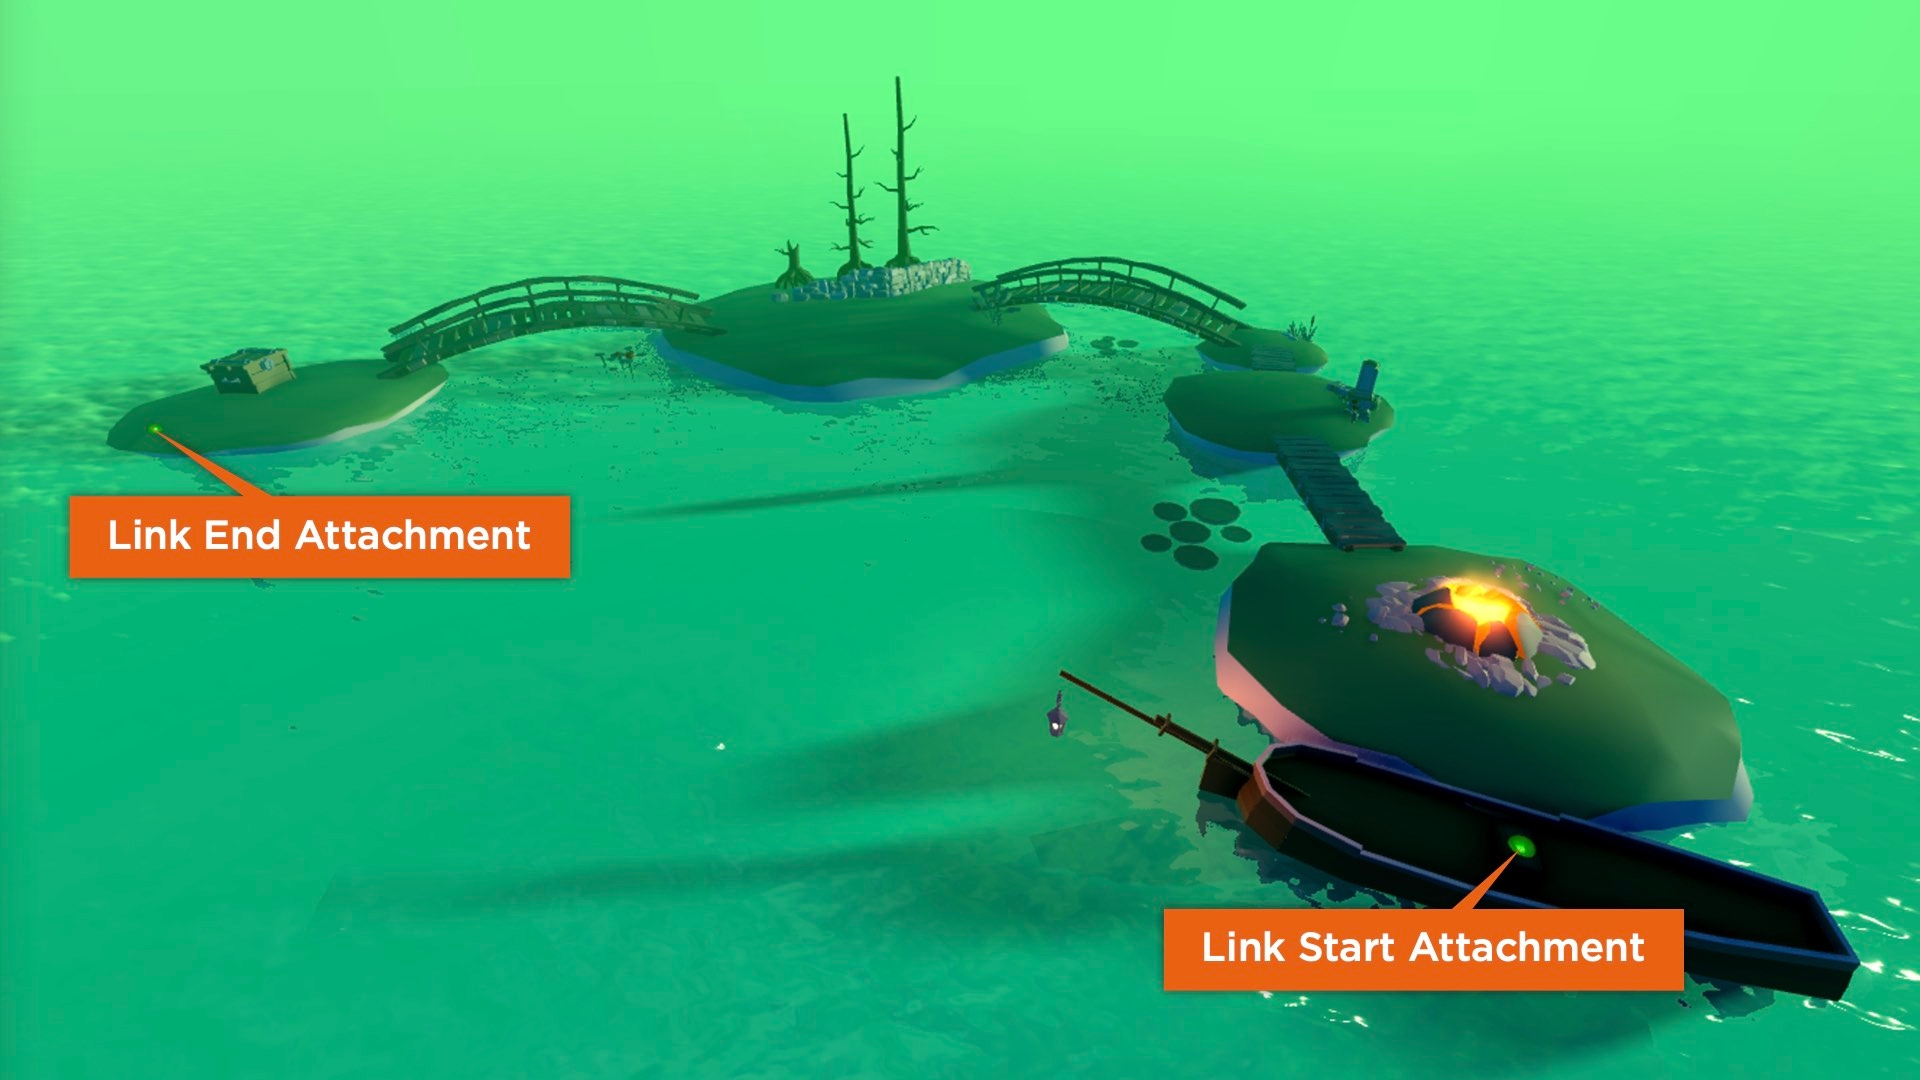
- Create a
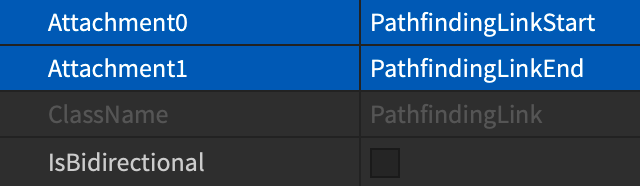
PathfindingLinkobject in the workspace.

- Select the new instance and assign its Attachment0 and Attachment1 properties to the starting and ending attachments respectively.
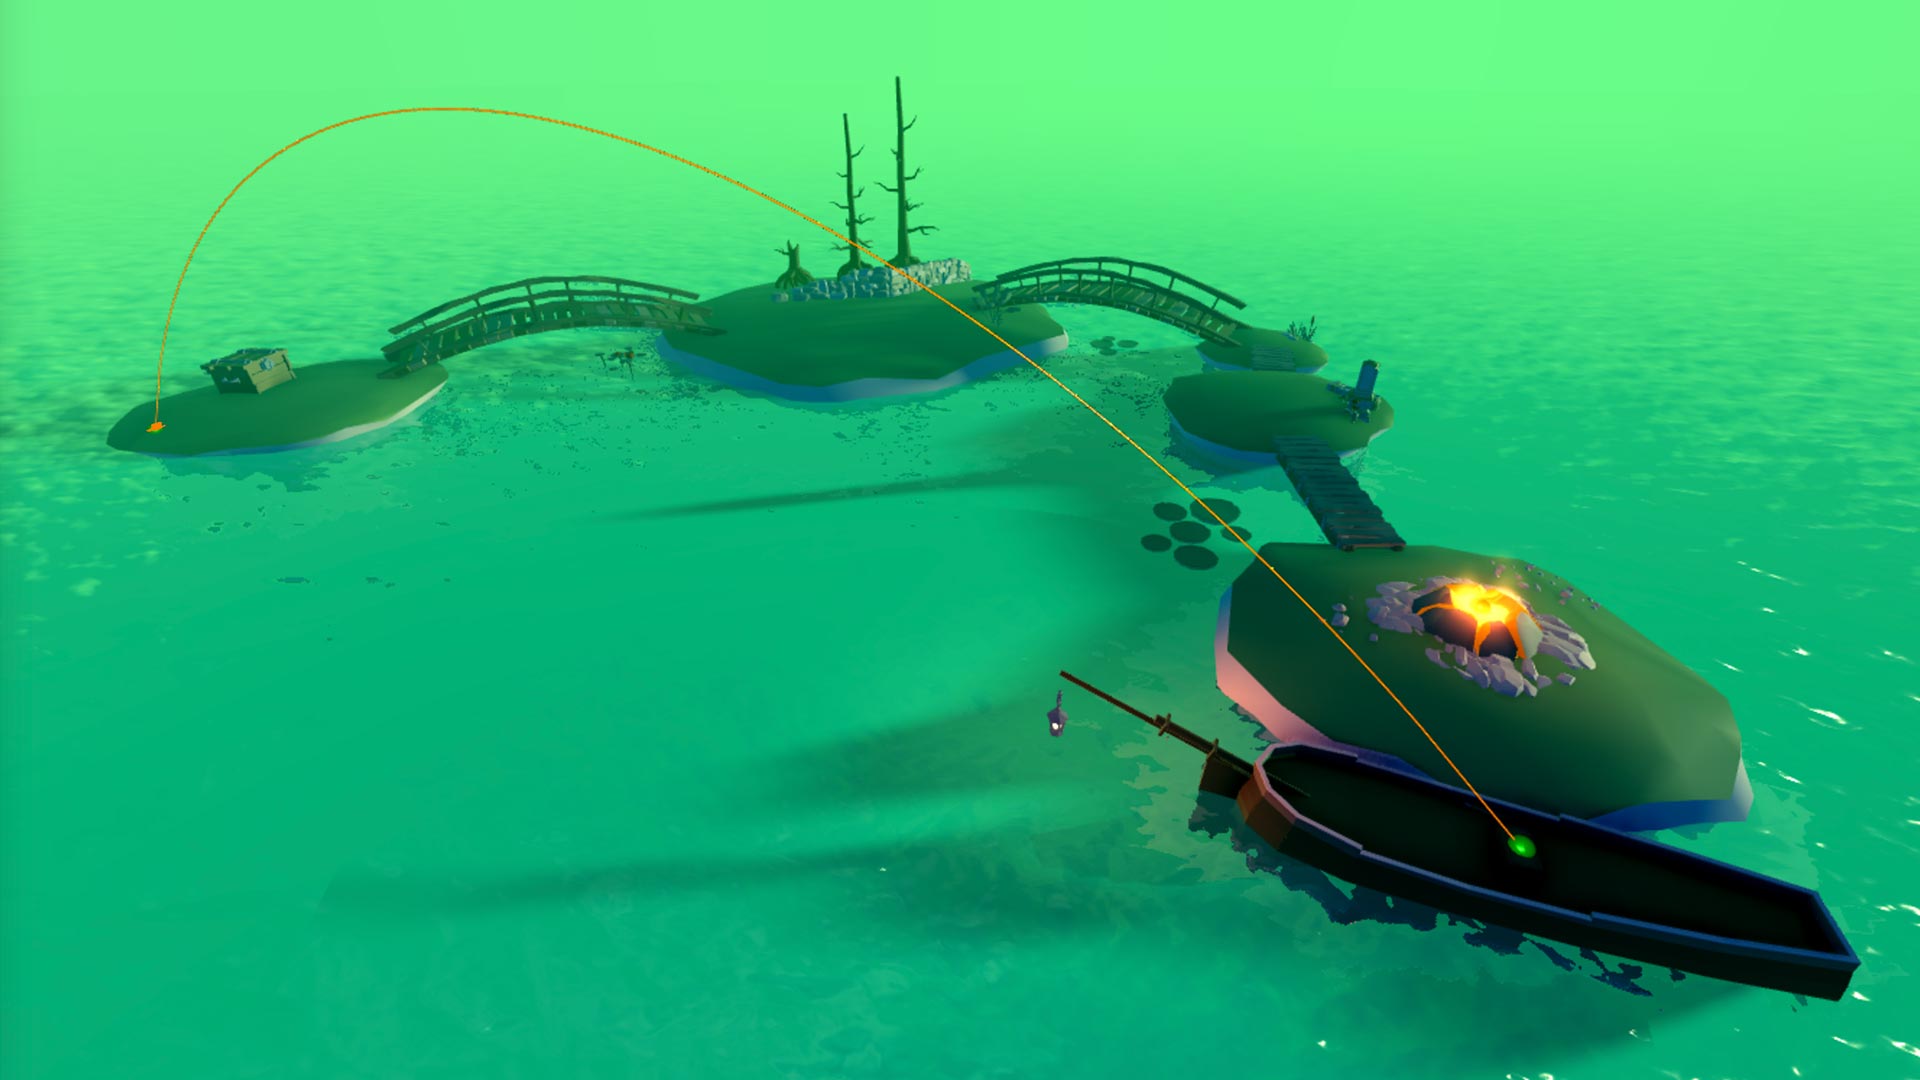
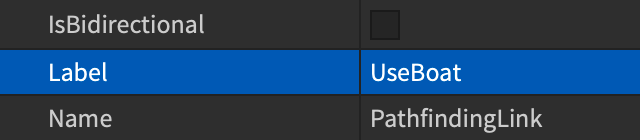
- Assign a meaningful name like UseBoat to its Label property. This name will be used as a flag in the pathfinding script to trigger a custom action when the agent reaches the starting link point.
- Add an entry to the
Coststable for the samePathfindingLink/Labelproperty name and assign a lower value thanWater.
- In the event which fires when a waypoint is reached, add a custom check for the UseBoat modifier and take a different action than
Humanoid/MoveTo|Humanoid:MoveTo()— in this case, calling a function to seat the agent in the boat, move the boat across the water, and continue the agent’s path upon arrival at the destination island.