Layered Clothing Asset Requirements
Layered Clothing Asset Requirements
Layered clothes are 3D accessories that form over any avatar body and its equipped accessories. You can use dedicated 3D modeling software to create the .fbx assets to import into Studio. The examples in this guide will primarily use Blender.
Assets to be used for layered clothing have specific requirements:
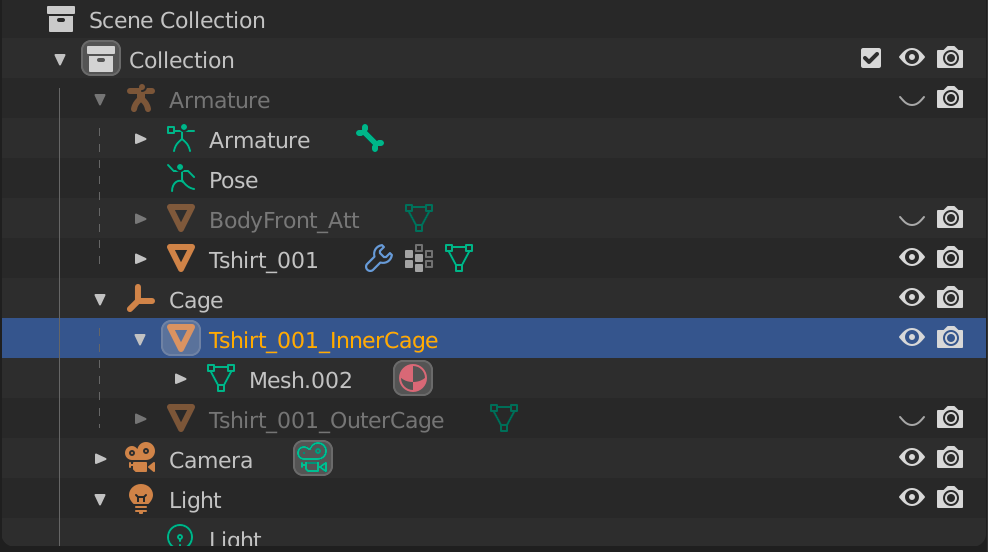
- Asset must contain an inner mesh cage and an outer mesh cage.
- Cage layers within an asset must have the same UV maps.
- Asset must be weighted and parented to the correct bone or armature.
When designing your assets, consider other modeling best practices, such as creating an asset as a complete shape, texturing the asset, and minimizing polycounts.
Reference Files
Both .fbx and .blender files project files are included to use as templates or as reference.
This repository includes:
| LayeredClothingTemplate.blend | Starting template for Blender, includes avatar body (inner cage), attachment points, and bones/vertices. |
| LayeredClothingTemplate.mb | Starting template for Maya, includes avatar body (inner cage), attachment points, and bones/vertices. |
| 15 various accessories | Studio-ready 3D accessory models. |
Cage Meshes
Cage meshes, or cages, are invisible boundaries that define the inner and outer surfaces of your asset. Similar to collision boxes, these surfaces prevent other accessories or bodies from clipping or breaking.
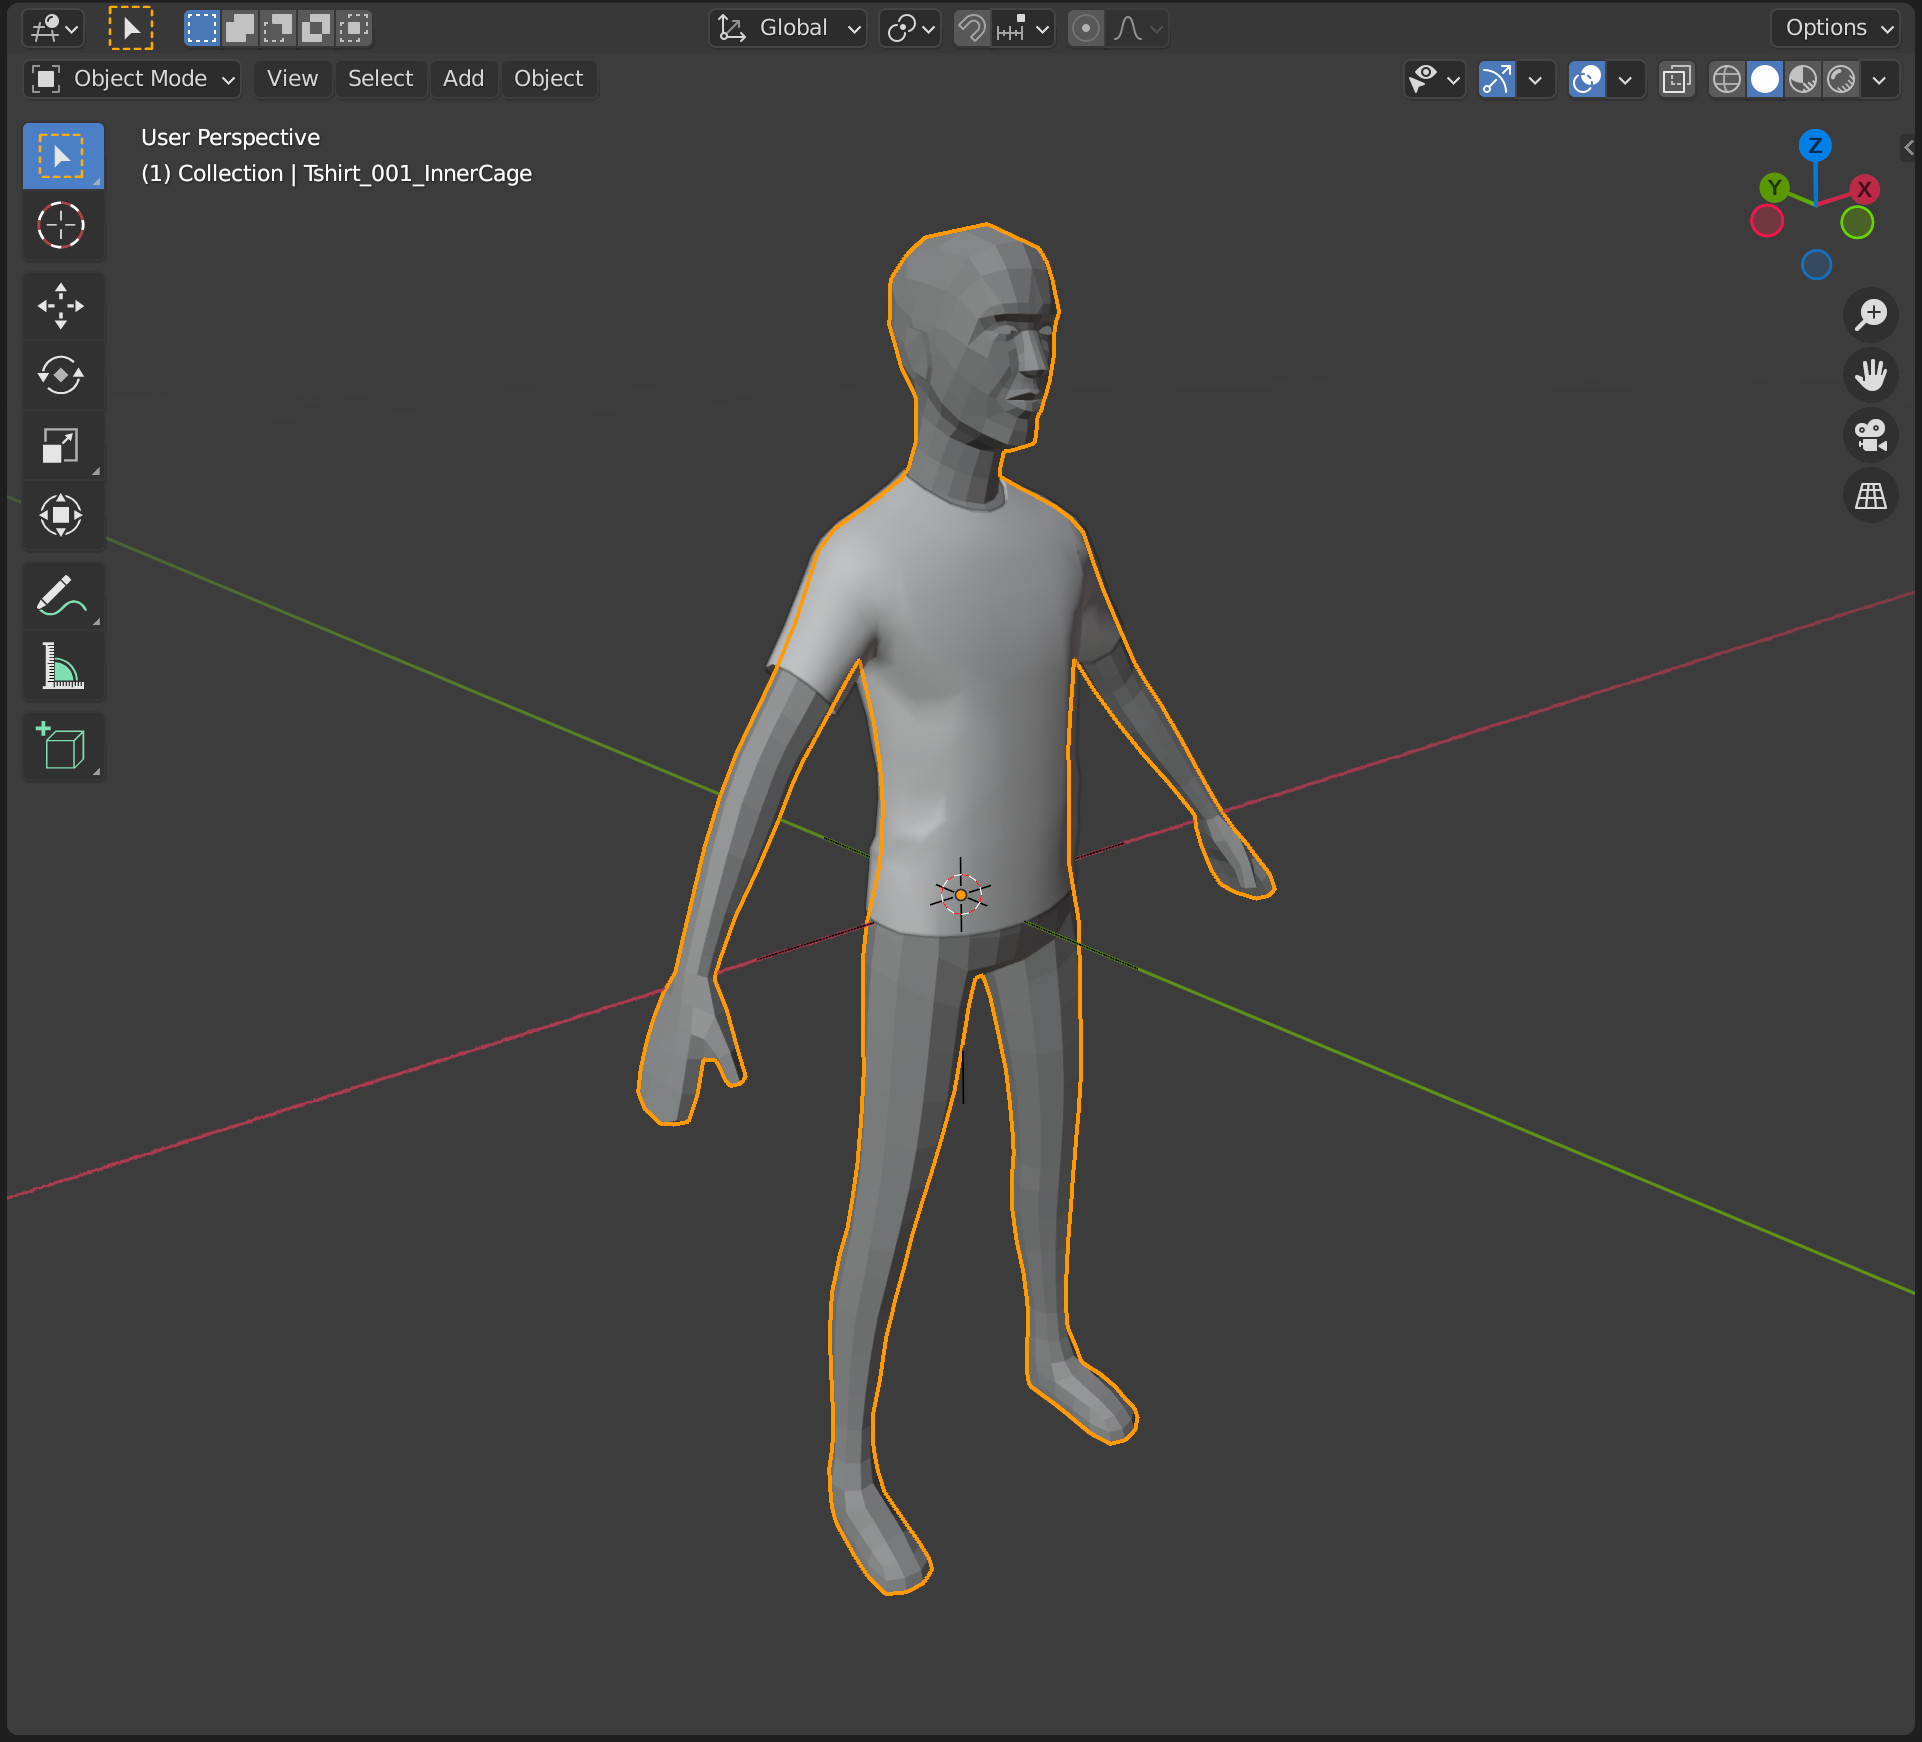
Inner Cage
The Inner Cage of a layered clothing asset is always the Avatar cage mesh.
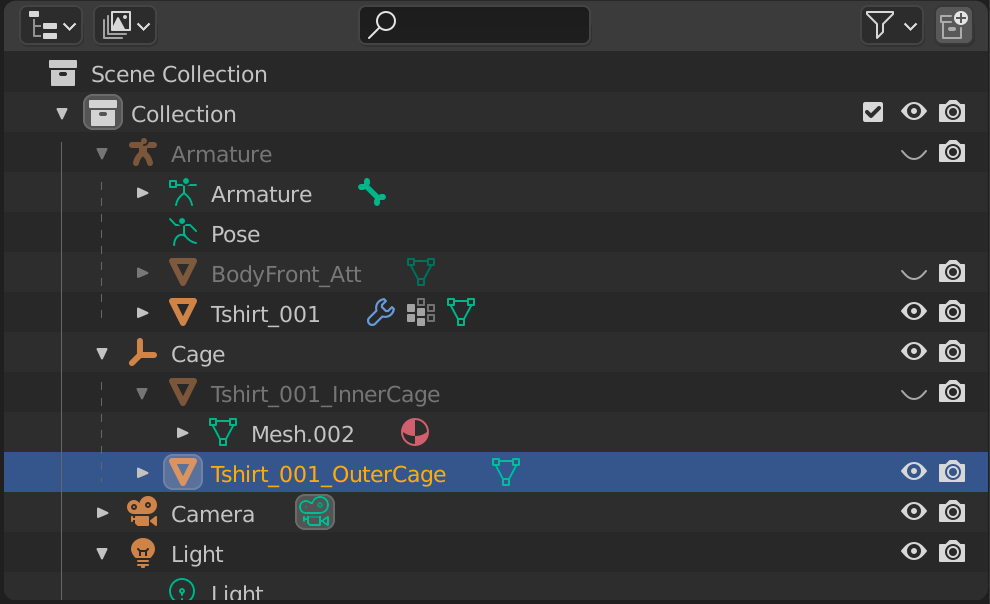
The mesh must follow the following naming convention to be recognized by Studio: AssetName_InnerCage
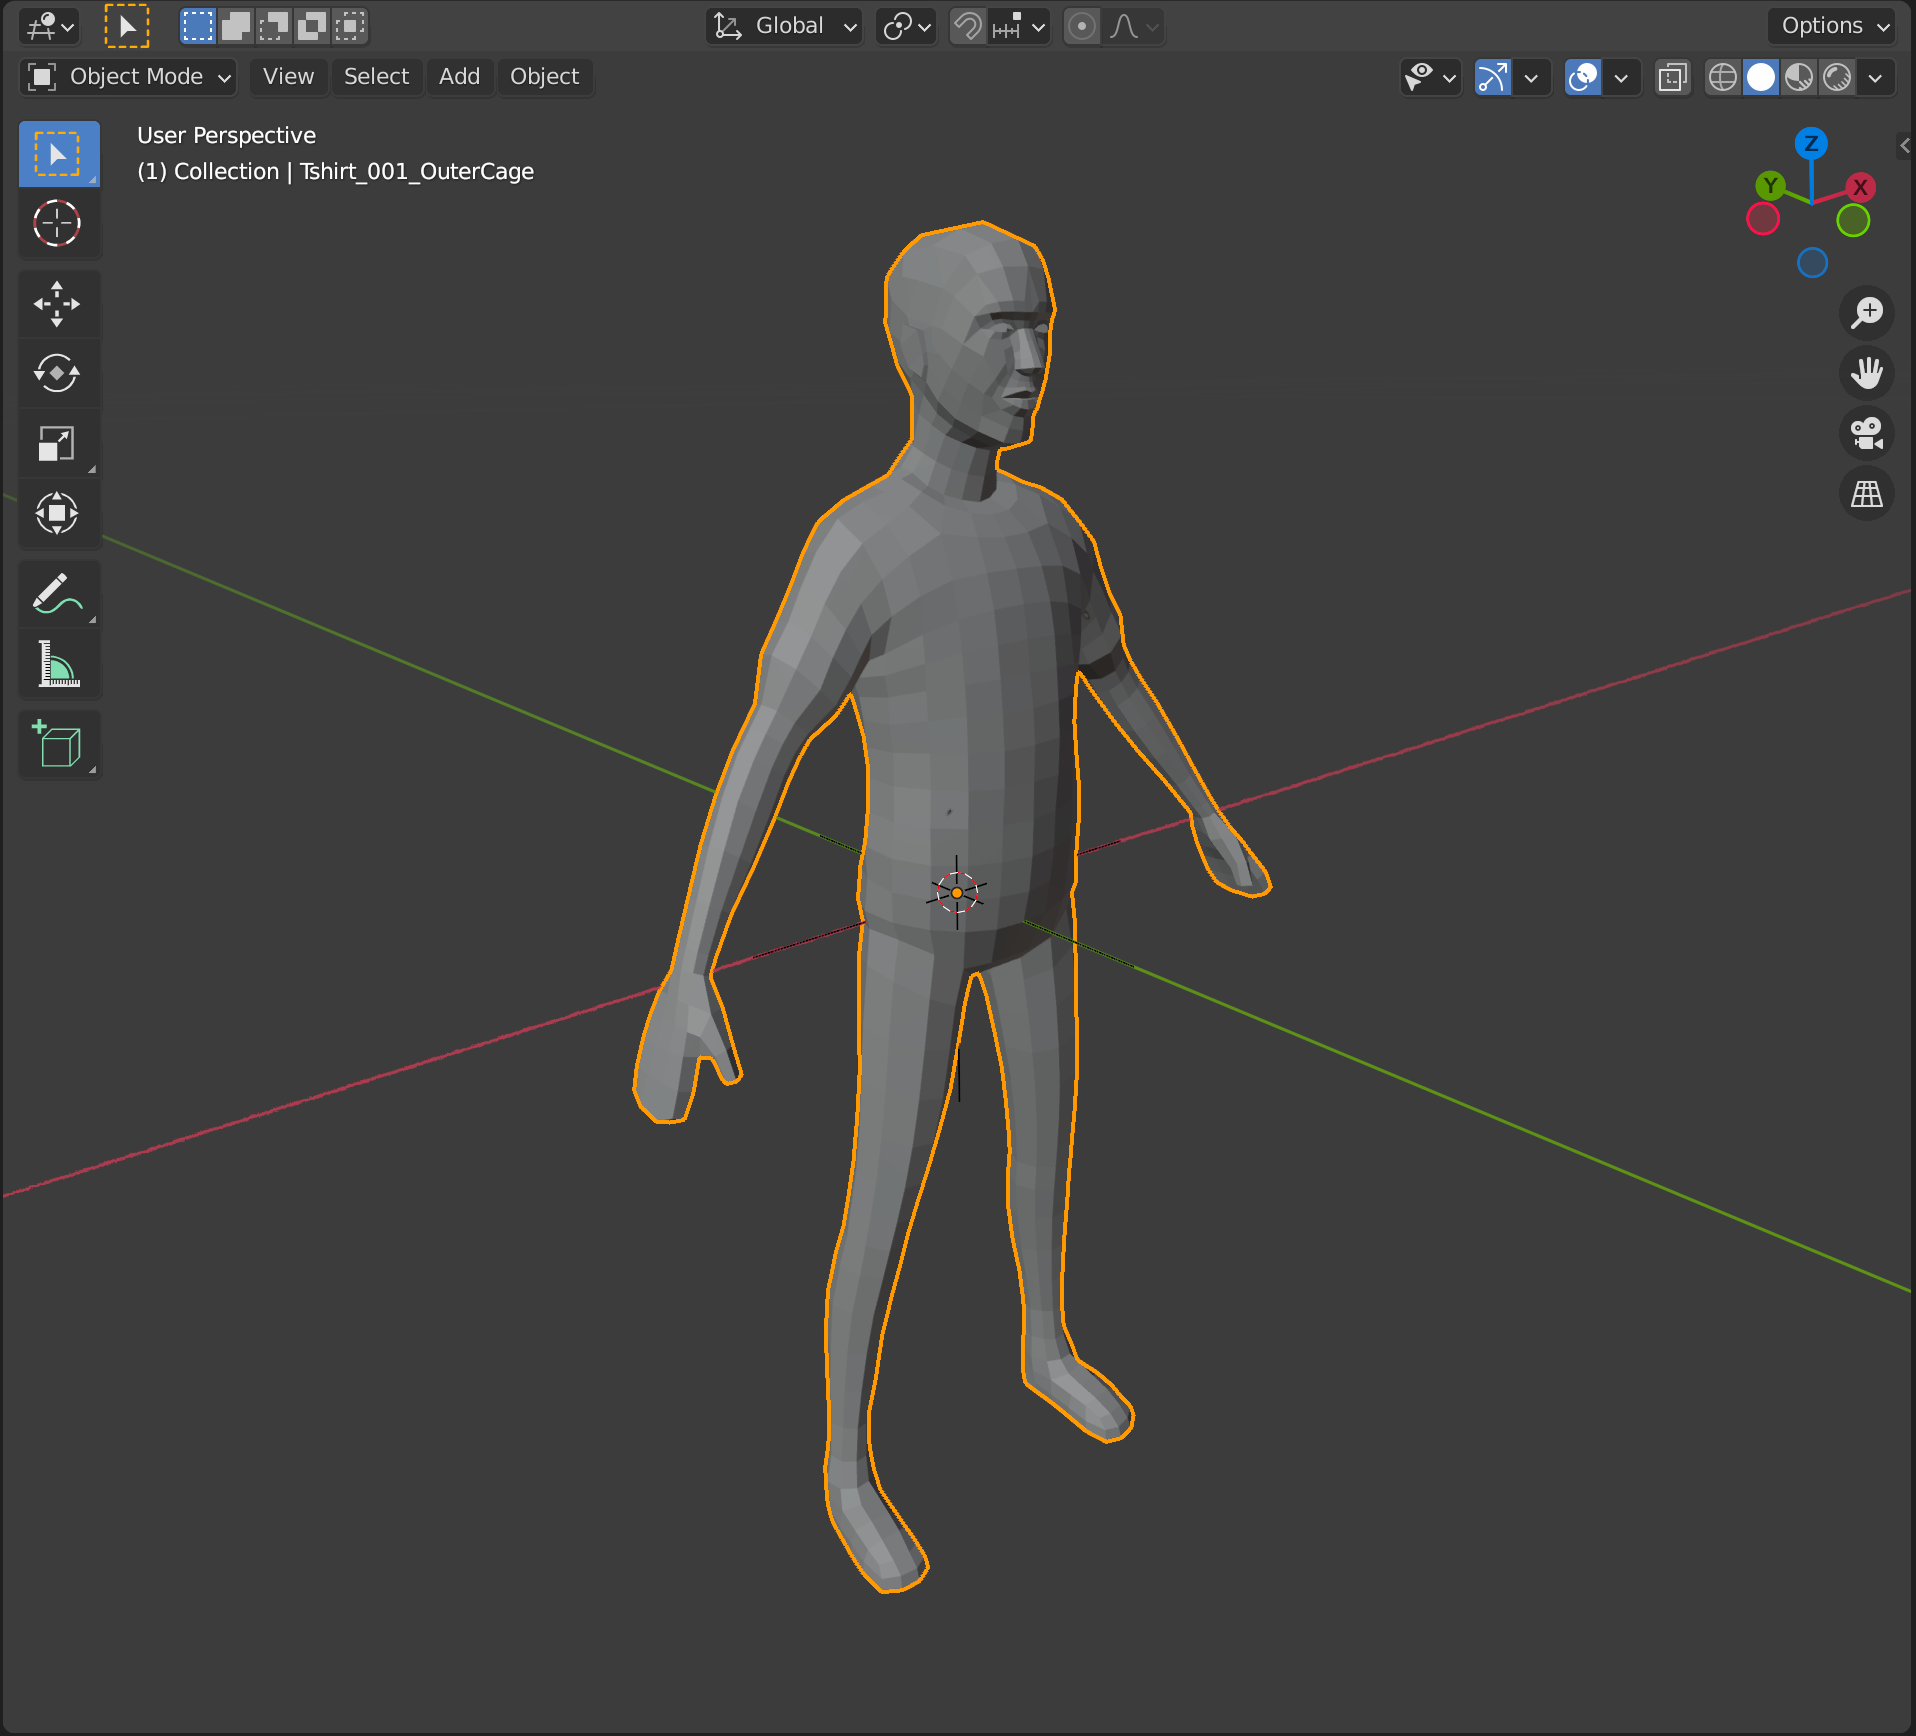
Outer Cage
The Outer Cage of a layered clothing asset should be a mesh that fits precisely over the clothing item. The Outer Cage included in the template files is identical to the Inner Cage by default.
After the geometry of your accessory is finalized, extend the Outer Cage mesh to fit over the modeled asset.
The mesh included must follow the following naming convention to be recognized by Studio: AssetName_OuterCage
The UV texturing of the actual accessory mesh layer (not the InnerCage or OuterCage layer) can be completed at the artist’s discretion.
Skinning Weights
Correctly assign armature and weights to allow accessories to move naturally in different poses.
Since layered clothes items can be worn by Rigid and Skinned characters and are often influenced by more than one joint when animated, layered clothing must be skinned to R15 joints appropriately.
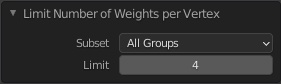
Influences (Maya) or Bone Assignments (Blender) per vertex should be limited to 4.
Assigning Automatic Weights
In Blender, one approach to Skinning uses Automatic Weights and then Weight Painting to assign custom weights.
To assign Automatic Weights in Blender:
- Parent the item to the Armature object in the template file.
- Select your clothing item first, then CTRL/CMD + click the Armature Object.
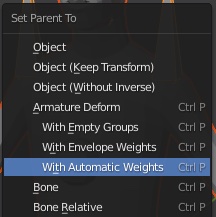
- Use CTRL/CMD + P to set parent, then select “Armature Deform With Automatic Weights”. This should create necessary vertex groups and create some default calculated weights.
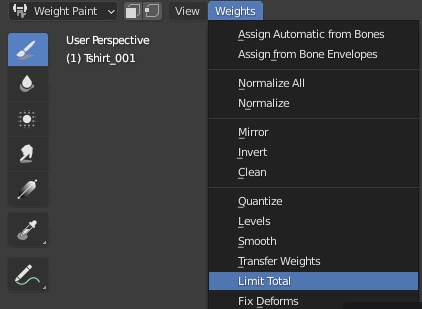
- Use Weight Painting (or any method of applying weights) to fine tune the accessory weights.
- Set the Limit Total (Bone Assignments) to 4.
Exporting
Export accessory models as .fbx. Confirm that keyframes, layers, animations, and other unnecessary data is not included on export.
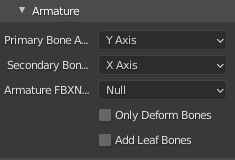
Blender Export
Uncheck “Add Leaf Bones” on the .fbx export menu under the Armature section. Default settings for Blender .fbx export should be sufficient.
Maya Export
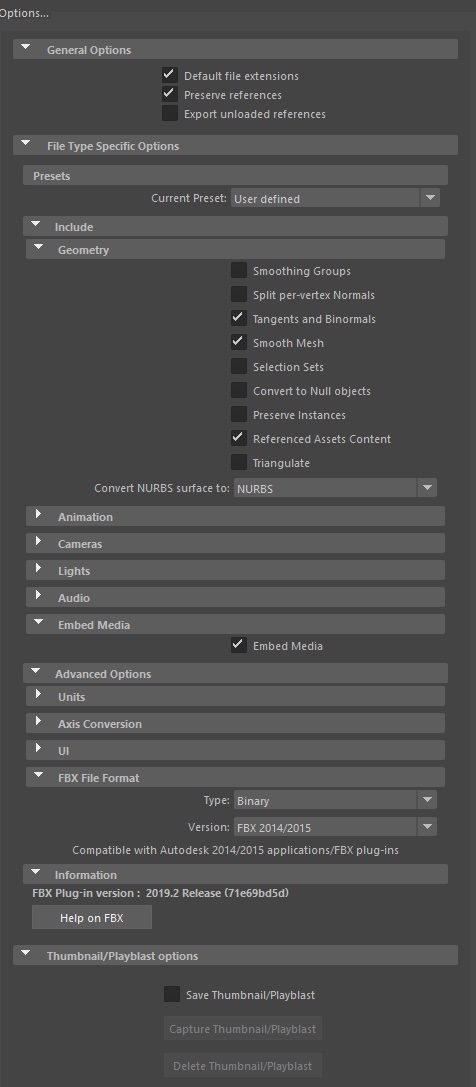
Use the following settings to export your .fbx:
- In Geometry, enable Tangents and Binormals
- In Embed Media, enable Embed Media
- If running into any issues with the imported file, set the version to “FBX 2014-2015”